How to Add Current Date and Time on Documents on Microsoft Words
In this article we will teach you how to Add Add Current Date and Time on Documents on Microsoft Words. Adding Current Date and Time on Documents can help you in a number of ways, this will help you to organized your work in an well organized manner. Even you you are working you will not to look at the calendar frequently. Follow these steps: (Add Current Date and Time on Documents)
About Microsoft words: (Add Current Date and Time on Documents):
Microsoft Word is developed by Microsoft. It was first released on October 25, 1983, under the name Multi-Tool Word for Xenix systems. Subsequent versions were later written for several other platforms including IBM PCs running DOS (1983), Apple Macintosh running the Classic Mac OS (1985), AT&T UNIX PC (1985), Atari ST (1988), OS/2 (1989), Microsoft Windows (1989), SCO Unix (1994), and macOS (2001).
Step by Step guide to Add Current Date and Time on Documents on Microsoft Words
Step 1:
Click the Insert tab.
Step 2:
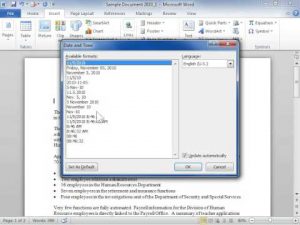
In the Text group, click the Date and Time button. The button may say Date & Time, or you may see only the icon. word2019-date-time
Step 3: (Add Current Date and Time on Documents)
Use the Date and Time dialog box to choose a format.
Step 4:
If desired, click the Update Automatically option so that the date-and-time text remains current with the document. Setting the Update Automatically ensures that the date and time values are updated when you open or print the document.
Step 5: (Add Current Date and Time on Documents)
Click the OK button to insert the current date or time into the document.
The keyboard shortcut to insert the current date is Alt + Shift + D. To insert the current time, press Alt + Shift + T.


